

PRODUCT DETAILS
BOLA slim
TECHNICAL SPECIFICATIONS
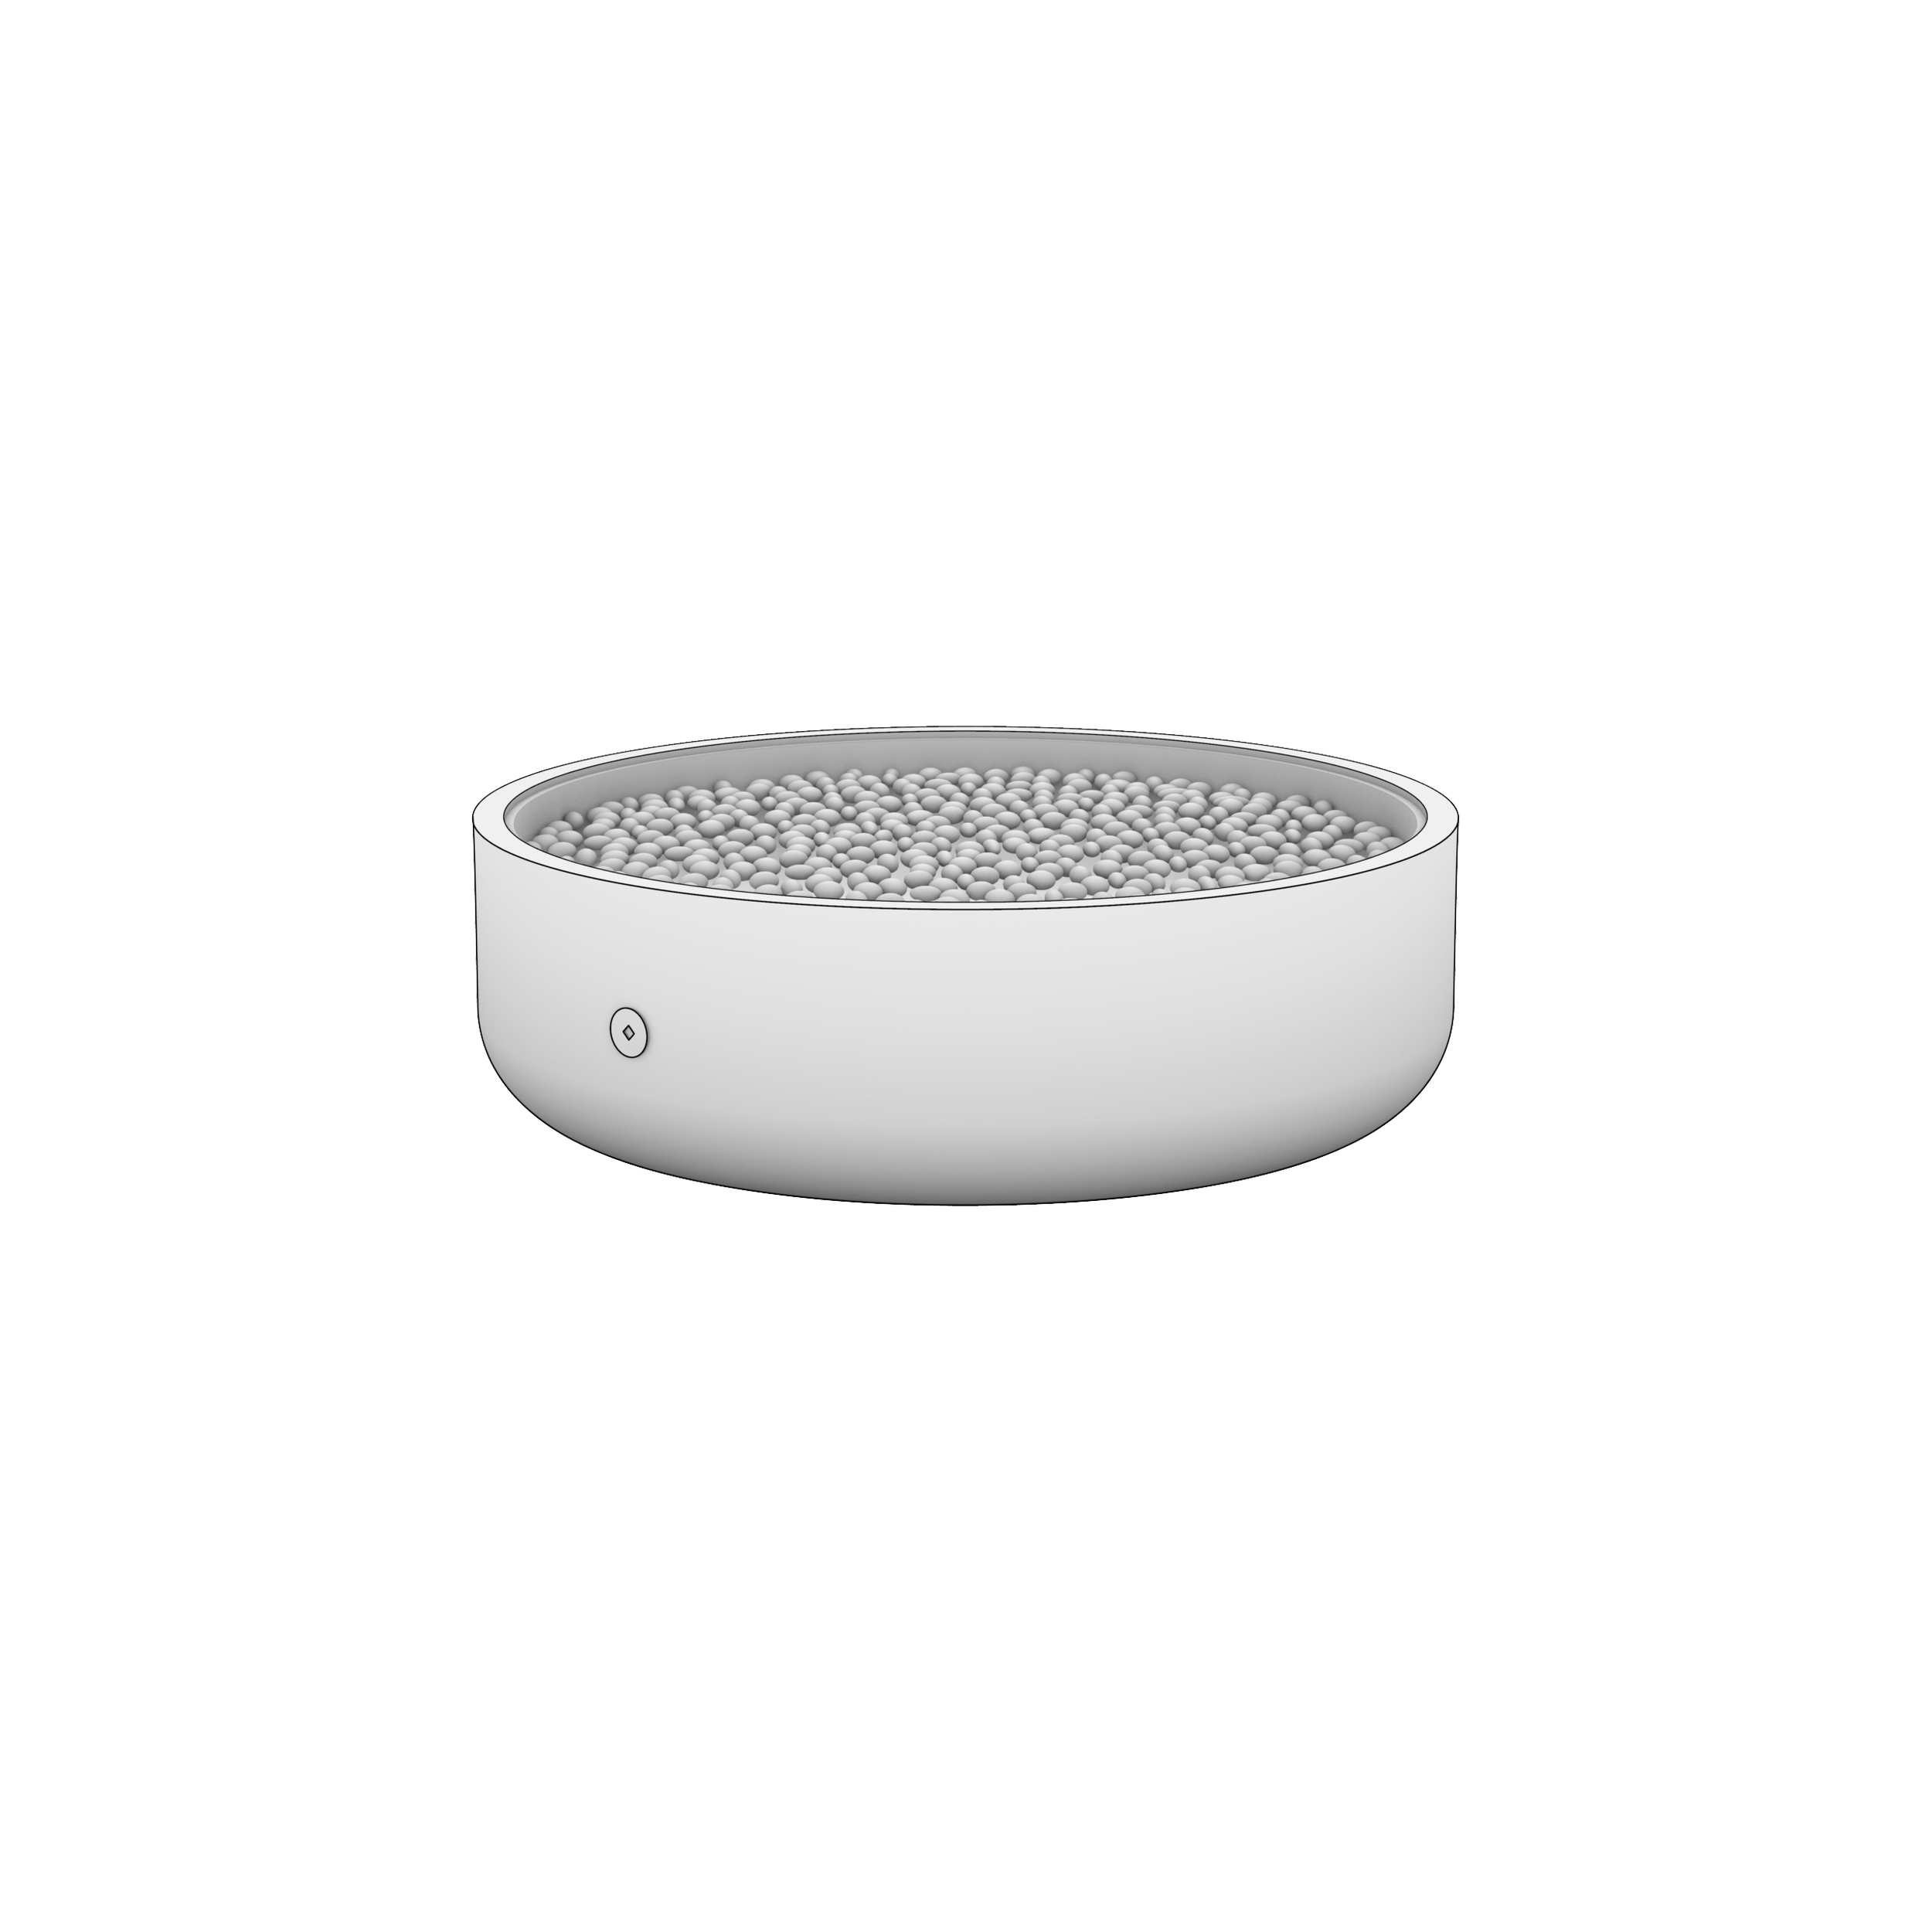
PERSPECTIVE VIEW
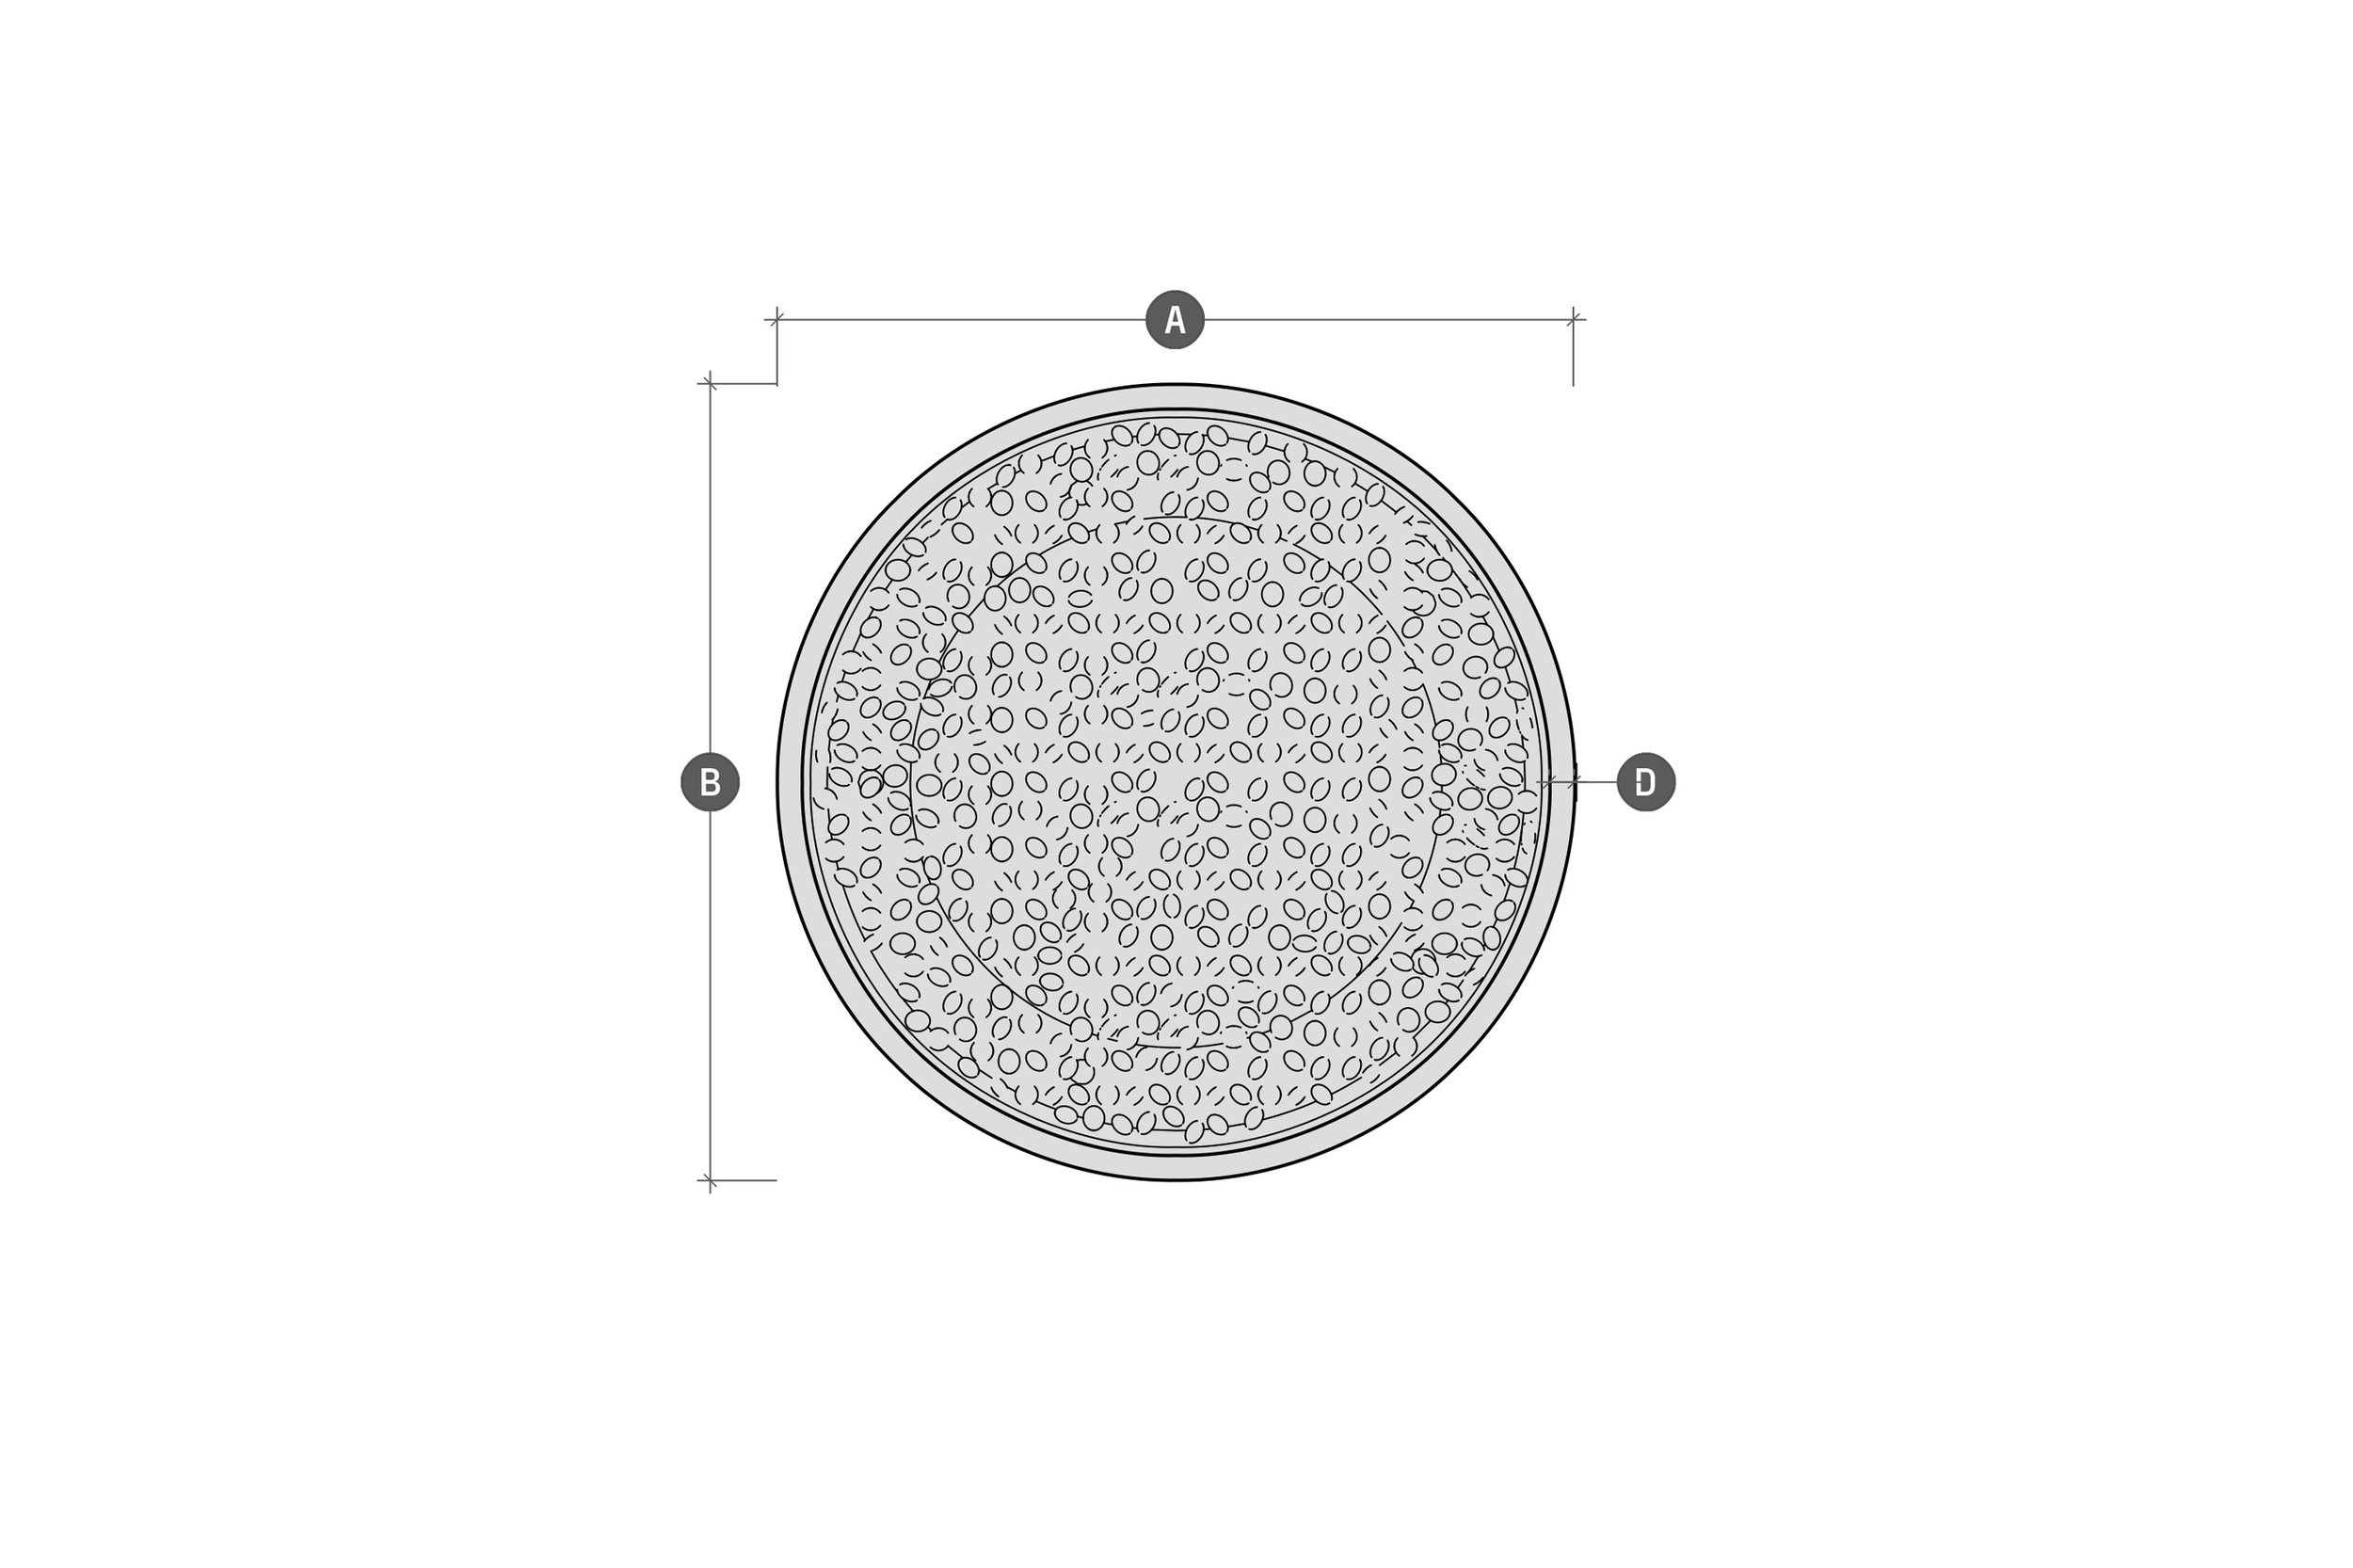
PLAN VIEW

SIDE ELEVATION

DOWNLOADS


MATERIALS

FIRE FEATURE SHELL
High-performance glass fiber reinforced concrete.

BURNER SYSTEM
Stainless steel and or brass components

INFILL
Volcanic stone
PRECAST COLORS


CHARCOAL
CLAY

GULL
INKWELL
IVORY
LIMESTONE


SAND
TAUPE


PEWTER
MILLSTONE
BURNER SYSTEM COMPONENTS
16-gauge stainless burner pan
ANSI-approved stainless steel flex lines
Integrated CSA-certified log lighter valve
Burner (stainless steel or Warming Trends)
Natural gas or propane fittings
Powder-coated valve key
GAS PRESSURES & PLUMBING SECTIONALS
The installer is responsible for using the correct fuel lines and/or regulation to provide gas to the fire feature within the specified minimum and maximum gas inlet pressures below:

HARD PIPE CONNECTION
FLEX HOSE CONNECTION
ELECTRONIC IGNITION SECTIONAL
TYPICAL ROUND
SHIPPING INFORMATION & UNCRATING WORKFLOW
BOLA slim 32
Crated dimensions - 35" x 35" x 23"
Shipped weight - 420 lbs
BOLA slim 36
Crated dimensions - 39" x 39" x 23"
Shipped weight - 515 lbs
BOLA slim 42
Crated dimensions - 45" x 45 "x 23"
Shipped weight - 700 lbs
BOLA slim 48
Crated dimensions - 51" x 51" x 23"
Shipped weight - 880 lbs
FIRE FEATURE CARE AND MAINTENANCE
SUMMARY
Regular maintenance and safety checks of your fire feature are crucial. By adhering to proper care routines, you can prolong the lifespan of both the product and its individual parts.
CONCRETE SHELL
Your LUMACAST product has been sealed to resist staining, scratching, and heat caused by reasonable wear and tear encountered during regular use in an indoor or outdoor environment. Please use caution to wipe up spills in a timely fashion, especially with highly acidic beverages. Avoid cutting or chopping food on your concrete surface, as it may abrade the sealer and most likely dull your cutlery.
Observing a hairline crack on the finish of your fire feature shouldn’t cause concern; it’s a typical trait of concrete and doesn’t indicate a defect. The internal concrete benefits from glass fiber reinforcement, ensuring such cracks don’t expand further.
Lumacast recommends cleaning your concrete with mild, non-abrasive all-purpose household cleaners such as “Method” or “Seventh Generation” Spray-Cleaner. We also recommend “Pledge Specialty Surface Cleaner” as an all-in-one cleaner and protector. Please do not use harsh chemicals, as they may damage the sealer. Periodic cleaning with mild cleaning products is suggested to maintain the smooth look and finish of the concrete.
TABLETOPS
Lumacast recommends cleaning your aluminum or wood-faced composite tabletop with mild, non-abrasive all-purpose household cleaners such as “Method” or “Seventh Generation” Spray-Cleaner. We also recommend “Pledge Specialty Surface Cleaner” as an all-in-one cleaner and protector. Please do not use harsh chemicals, as they may damage the powercoat on the aluminum and the epoxy on the composite tabletops. Periodic cleaning with mild cleaning products is suggested to maintain the smooth look and finish of the tabletops.
BURNER SYSTEM CARE AND MAINTENANCE
NATURAL GAS & PROPANE BURNER ASSEMBLY
Annually inspect and clean the burner. If you detect any signs of damage, replace the burner assembly before using the appliance. Ensure that the replacement parts meet the standards of the set forth by Lumacast. Keep in mind that stainless steel will rust or corrode over time if contamination or debris is not cleaned or removed. To examine and clean the burner pan and ring, proceed with the following instructions:
Remove the infill media and examine the burner. Vacuum and clean it as necessary.
Inspect the burner and burner assembly for warping and corrosion. Repair or replace components as necessary
Verify that the holes on a stainless burner or the nozzles on Warming Trends burner are not clogged with debris. Clear as necessary.
Clean the burner and burner assembly with a soft wire brush.
On stainless burner assemblies, verify that the air mixer is clear of spider webs, insects and debris (the air mixer is located on the underside of the burner assembly).
Verify that the stainless steel flex lines are tight and undamaged. Tighten and/or replace as necessary.
Perform a leak test.